Making handmade rings can be a rewarding and creative craft project. Here’s a step-by-step guide on how to make handmade rings:
Materials you’ll need:
Ring band material (e.g. wire, metal sheet)
Ring setting (e.g. gemstone, bead)
Jewelry pliers (round-nose, flat-nose)
Wire cutters
Hammer and bench block (optional)
Sandpaper or metal file (optional)
Jewelry adhesive (optional)
Step 1: Choose your ring band material
Select the type of material you want to use for your ring band. Common options include wire or metal sheet, which can be purchased from a craft store or a jewelry supply shop. Consider the type of metal (e.g. sterling silver, copper, brass) and gauge (thickness) that you prefer for your ring band.
Step 2: Measure and cut the ring band
Using a ruler or a ring sizer, measure the length of the ring band to fit your desired ring size. Add a little extra length to account for overlapping and making adjustments. Use wire cutters to trim the ring band to the desired length.
Step 3: Shape the ring band
If you are using wire, you can shape it into a ring by wrapping it around a mandrel or a cylindrical object with a diameter that matches your desired ring size. Alternatively, if you are using a metal sheet, you can shape it into a ring by bending it around a ring mandrel or a cylindrical object and then soldering the ends together.
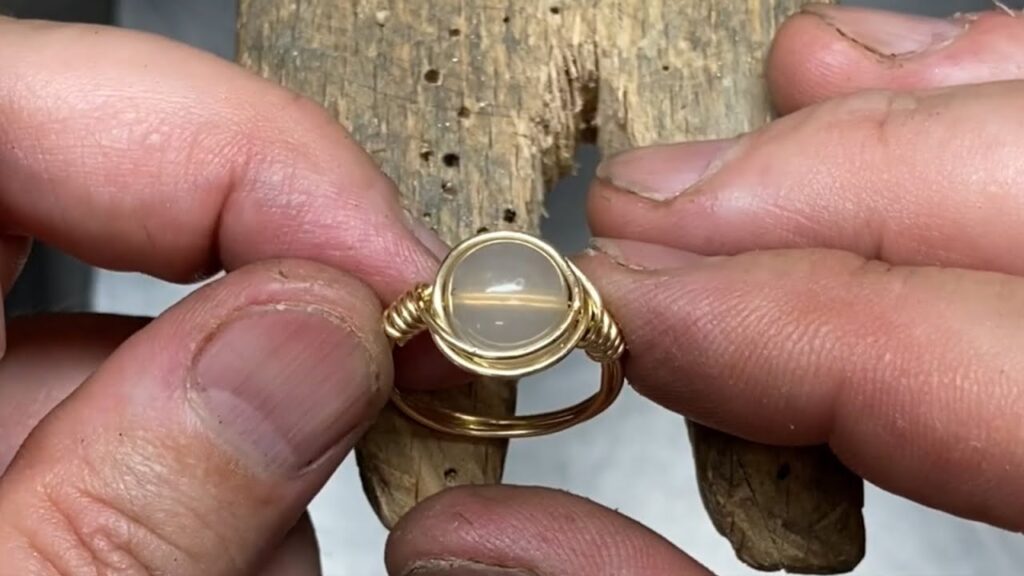
Step 4: Attach the ring setting
If you are using a ring setting with a gemstone or bead, apply jewelry adhesive to the back of the setting and carefully place it onto the ring band. Make sure it is centered and aligned as desired. Allow the adhesive to dry according to the manufacturer’s instructions.
Step 5: Finish and polish
If desired, you can use jewelry pliers to bend and shape the ring band to add texture or decorative elements. You can also use a hammer and bench block to texture or flatten the ring band, or sandpaper or a metal file to smooth any rough edges. Polish the ring using a jewelry polishing cloth or a metal polish to give it a shiny finish.
Step 6: Personalize your ring (optional)
You can further personalize your handmade ring by adding additional embellishments, such as beads, charms, or engraving, according to your creative vision and skills.
With these steps, you can create a unique and beautiful handmade ring that reflects your personal style and creativity. Remember to take your time, be patient, and practice good jewelry-making techniques for the best results. Happy crafting!