Making polymer clay earrings can be a fun and creative DIY project! Here’s a step-by-step guide on how to make polymer clay earrings:
Materials:
Polymer clay in various colors
Earring findings (hooks, posts, or studs)
Craft knife or clay cutting tools
Rolling pin or clay roller
Baking sheet
Oven or toaster oven
Sandpaper (optional)
Clear varnish or glaze (optional)
Instructions:
- Prepare your workspace by covering it with a clean and smooth surface, such as parchment paper or a silicone mat, to prevent the clay from sticking.
- Choose the colors of polymer clay you want to use for your earrings. Polymer clay comes in a wide variety of colors, so you can mix and match to create your desired design.
- Soften the polymer clay by kneading it in your hands until it becomes pliable and easy to work with.
- Roll out the polymer clay using a rolling pin or clay roller to your desired thickness. Typically, 1/8 to 1/4 inch thickness is ideal for earrings, but you can adjust it based on your preference.
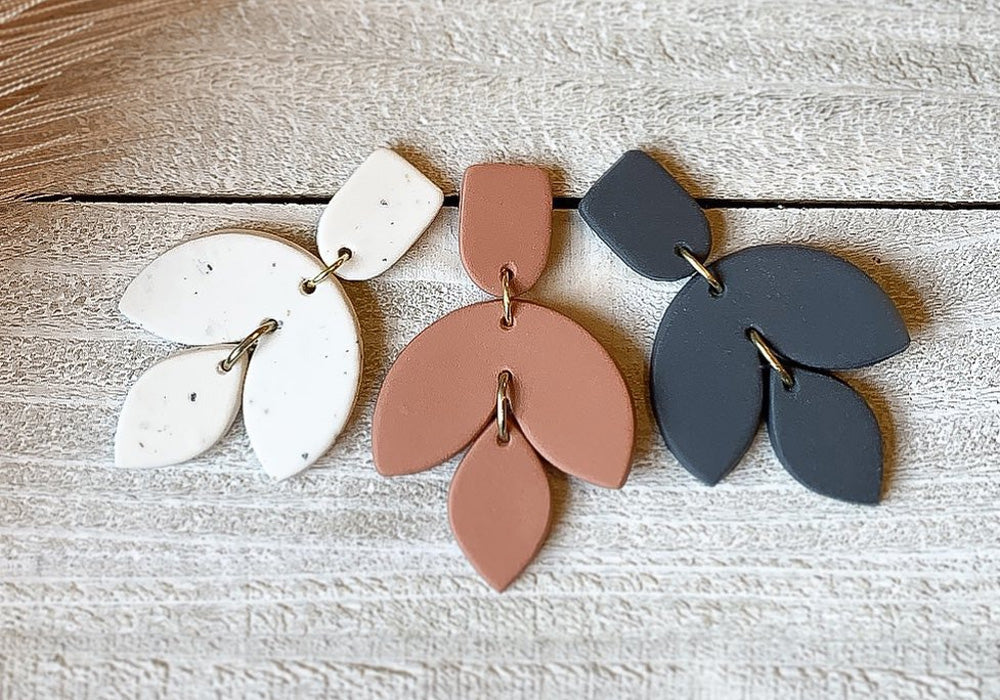
- Use a craft knife or clay cutting tools to cut out the shapes you want for your earrings. You can create various shapes, such as circles, squares, triangles, hearts, or any other design you like.
- If desired, you can add texture or patterns to the clay using stamps, texture sheets, or other tools.
- Make holes for attaching earring findings. Use a toothpick or a needle to create holes near the top of the clay shapes where you want to attach the earring findings. Make sure the holes are large enough for the findings to pass through easily.
- Place the clay shapes on a baking sheet and bake them in the oven or toaster oven according to the manufacturer’s instructions for the specific brand and type of polymer clay you are using. Typically, polymer clay is baked at a temperature of around 275°F (130°C) for about 15-30 minutes, depending on the thickness of the clay. Follow the instructions carefully to avoid over-baking or burning the clay.
- Once the clay has cooled completely, you can sand the edges or surfaces with sandpaper if desired, to smooth out any rough edges or imperfections.
- Optional: Apply a clear varnish or glaze to the baked polymer clay earrings to add shine and protect the surface. Follow the instructions on the varnish or glaze product for best results.
- Attach the earring findings, such as hooks, posts, or studs, to the holes you made earlier using pliers or your fingers, and make sure they are securely attached.
Your polymer clay earrings are now ready to be worn or gifted! Get creative with different colors, shapes, and designs to make unique and personalized earrings for yourself or your loved ones.