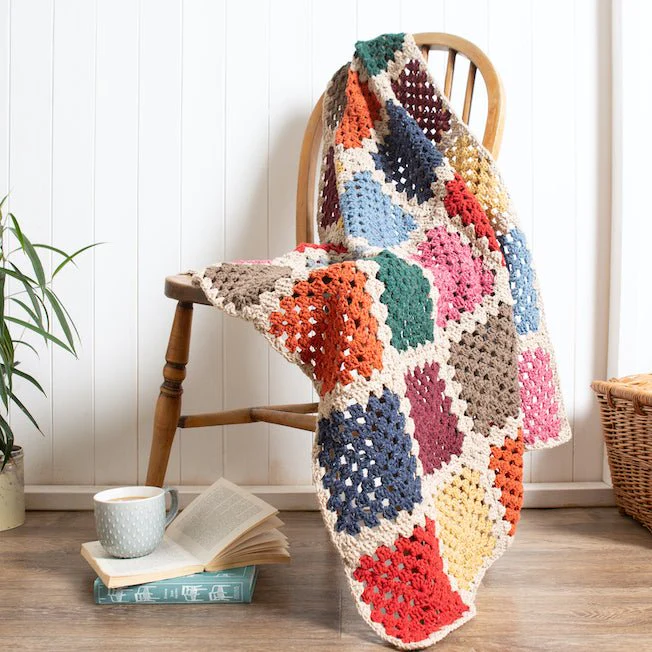
Making a crochet blanket can be a wonderful way to create a cozy and personalized item. Here’s a general guide on how to make a crochet blanket:
Materials:
Crochet hooks: Choose a hook size that’s appropriate for your yarn thickness. The recommended hook size is usually specified on the yarn label.
Yarn: Choose a yarn type and color(s) that you like. The amount of yarn you’ll need depends on the size of the blanket you want to make.
Scissors: You’ll need scissors to trim yarn ends.
Tapestry needle: This is helpful for weaving in yarn ends and sewing pieces together, if necessary.
Instructions:
1. Choose your crochet stitch: There are many different crochet stitches you can use to make a blanket. Common stitches include single crochet (SC), half-double crochet (HDC), double crochet (DC), and treble crochet (TR). Choose the stitch that you’re comfortable with or want to learn.
2. Make a gauge swatch: To ensure that your blanket turns out to be the desired size, make a small swatch using your chosen stitch and yarn. Measure the gauge, which is the number of stitches and rows per inch, and adjust your hook size if needed to match the pattern’s recommended gauge.
3. Choose a blanket size and plan your design: Decide on the size of your blanket, and calculate the number of stitches and rows you’ll need to achieve that size based on your gauge swatch. Plan your design by choosing the stitch pattern, color sequence, and any additional embellishments you want to incorporate.
4. Start your foundation chain: Using your chosen stitch and hook, create a foundation chain with the desired number of stitches for the width of your blanket.
5. Begin crocheting rows: Follow your stitch pattern to begin crocheting rows. Typically, you’ll work back and forth in rows, turning your work at the end of each row. Continue crocheting rows until your blanket reaches the desired length.
6. Change colors, if applicable: If you’re using multiple colors in your design, change colors as desired, following the pattern or design you’ve chosen.
7. Finish your blanket: Once your blanket has reached the desired size, finish off your last row according to your stitch pattern. Cut the yarn, leaving a long tail, and pull it through the last stitch to secure it. Weave in any yarn ends using a tapestry needle.
8. Add optional edging: If desired, you can add an edging to your blanket to give it a finished look. There are many different crochet edging patterns to choose from, such as simple borders or decorative stitches.
9. Block your blanket: Blocking is the process of wetting and shaping your crochet blanket to help it lay flat and improve its appearance. Follow any blocking instructions provided in your pattern or use a general blocking method appropriate for your yarn type.
10. Enjoy your crochet blanket: Once your blanket is dry and blocked, it’s ready to use and enjoy! Curl up with your cozy, handmade blanket or give it as a thoughtful gift.
Remember to follow the instructions and pattern you’ve chosen carefully, and don’t be afraid to seek help or guidance if you’re new to crochet or need assistance with a specific technique. Crocheting a blanket can be a time-consuming project, so be patient and enjoy the process of creating a beautiful, handmade item.

