Making handmade bracelets can be a fun and creative activity. Here’s a step-by-step guide on how to make a basic beaded bracelet:
Materials you will need:
Beads of your choice
Beading thread or cord
Scissors
Clasp or closure of your choice (e.g. lobster clasp, jump ring, or toggle clasp)
Beading needle (optional)
Step 1: Choose your beads
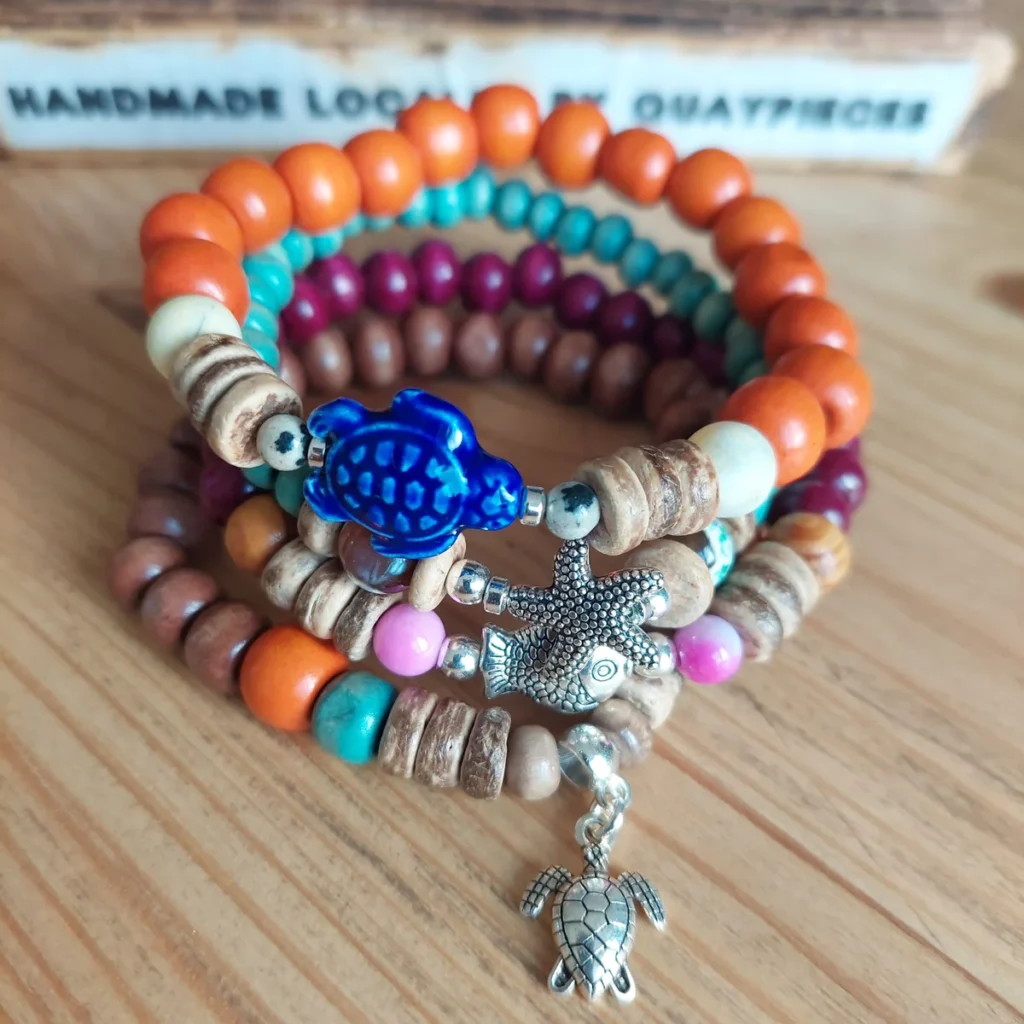
Select the beads you want to use for your bracelet. You can choose beads of various shapes, sizes, colors, and materials, such as glass beads, wooden beads, plastic beads, gemstone beads, or metal beads. You can also mix and match different beads to create your unique design.
Step 2: Measure and cut the cord
Measure the length of the cord or thread you need for your bracelet. You can measure it by wrapping the cord around your wrist and adding an extra inch or two for the clasp. Cut the cord using scissors.
Step 3: Attach the clasp
If you’re using a clasp that requires a jump ring, thread one end of the cord through the jump ring and tie a knot to secure it. If you’re using a lobster clasp or a toggle clasp, you can attach it directly to the cord using a jump ring or by tying a knot.
Step 4: Start beading
Thread one end of the cord through a beading needle (optional) or simply use your fingers to string the beads onto the cord in the desired pattern or sequence. You can create patterns by alternating different beads or by using a specific color scheme.
Step 5: Adjust the length and add the closure
Once you’ve strung all the beads onto the cord, wrap the bracelet around your wrist to check the fit. If it’s too long, you can remove some beads or if it’s too short, you can add more beads. Once you’re satisfied with the length, tie a knot at the end of the cord to secure the beads in place. You can add a drop of clear glue or nail polish on the knot to make it extra secure. Trim any excess cord.
Step 6: Finishing touches
If you used a jump ring to attach the clasp, you can use pliers to close the jump ring securely. If you tied a knot to attach the clasp, you can trim the excess cord close to the knot. Test the closure to make sure it’s secure and your bracelet is ready to wear!
Note: This is a basic technique for making beaded bracelets, and there are many other techniques and variations you can explore, such as macrame, braiding, or using different types of closures. Don’t be afraid to experiment and let your creativity shine!