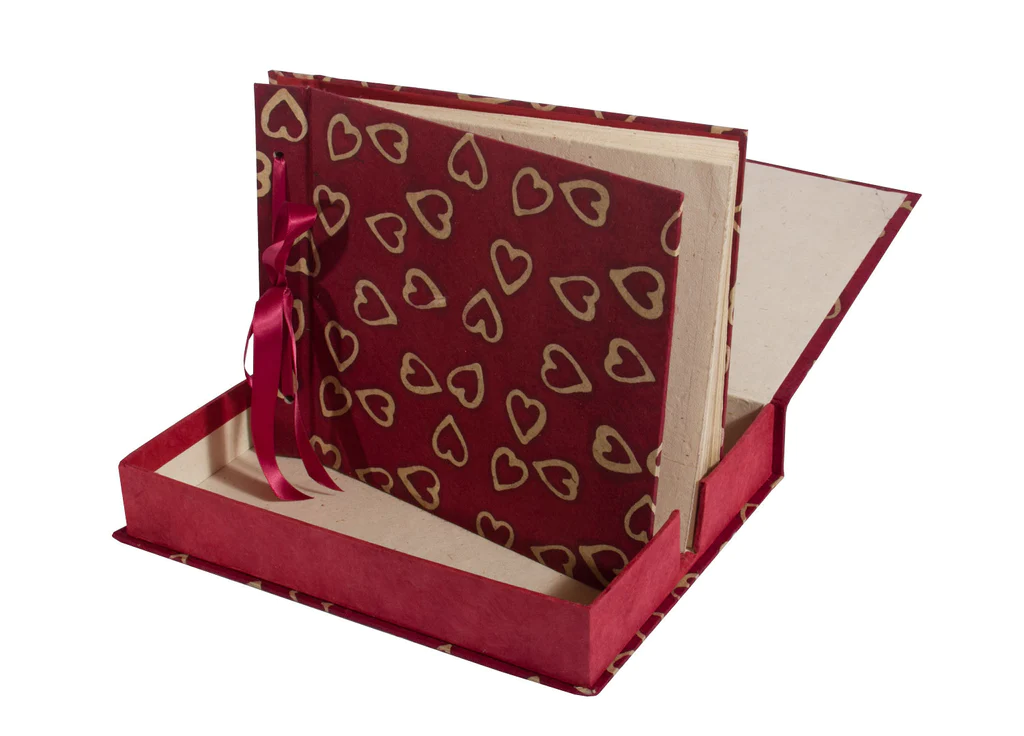
Making a handmade photo album can be a creative and personalized way to showcase your cherished memories. Here’s a step-by-step guide on how to make a handmade photo album:
Materials:
Cardstock or heavy-weight paper for the album pages
Patterned paper or cardstock for the album cover
Decorative paper, stickers, stamps, or other embellishments (optional)
Photos printed on photo paper or regular paper
Scissors or paper trimmer
Adhesive (such as glue, double-sided tape, or photo corners)
Hole punch or awl
Ribbon, twine, or binding rings
Pencil, ruler, and bone folder (optional)
Step 1: Choose Your Album Size and Design
Decide on the size of your photo album and the overall design. Consider the number of photos you want to include and the style you want to achieve. You can create a simple album with just cardstock pages and a cover, or you can add decorative paper, stickers, stamps, or other embellishments to customize it to your liking.
Step 2: Cut the Album Pages
Cut the cardstock or heavy-weight paper into rectangular pieces for your album pages. The size will depend on your chosen album size and design. You may want to use a paper trimmer for clean, straight edges. You can also use a pencil and ruler to measure and mark the pages before cutting, and a bone folder to create crisp folds if desired.
Step 3: Create the Album Cover
Cut a piece of patterned paper or cardstock for the album cover, slightly larger than the album pages to allow for overlap. This will be the front cover of your photo album. You can also cut a piece of cardstock for the back cover, or use another piece of patterned paper or cardstock to create a coordinating back cover. If desired, you can further embellish the cover with decorative paper, stickers, stamps, or other embellishments to add a personalized touch.
Step 4: Arrange and Adhere the Photos
Print out your photos on photo paper or regular paper, and trim them to fit onto the album pages. Arrange the photos on the album pages, and use adhesive (such as glue, double-sided tape, or photo corners) to adhere them onto the pages. You can also add captions or journaling to accompany the photos using a pen or markers.
Step 5: Punch Holes and Bind the Album
Using a hole punch or an awl, create evenly spaced holes along one side of the album pages and cover. Make sure the holes align and are large enough for your chosen binding method. You can punch holes directly through the pages and cover, or create holes in a separate strip of cardstock that will serve as the binding spine. Once the holes are punched, thread ribbon, twine, or binding rings through the holes to bind the album pages and cover together.
Step 6: Finish and Decorate
Tie the ribbon or twine in a knot or bow, or close the binding rings to secure the album. You can further decorate the album with additional embellishments such as stickers, ribbons, or other decorative elements to enhance the overall look and feel of the album.
And there you have it! Your handmade photo album is now complete. Fill it with your favorite photos and enjoy flipping through the pages of your personalized keepsake. It can also make a thoughtful gift for a loved one on a special occasion.

