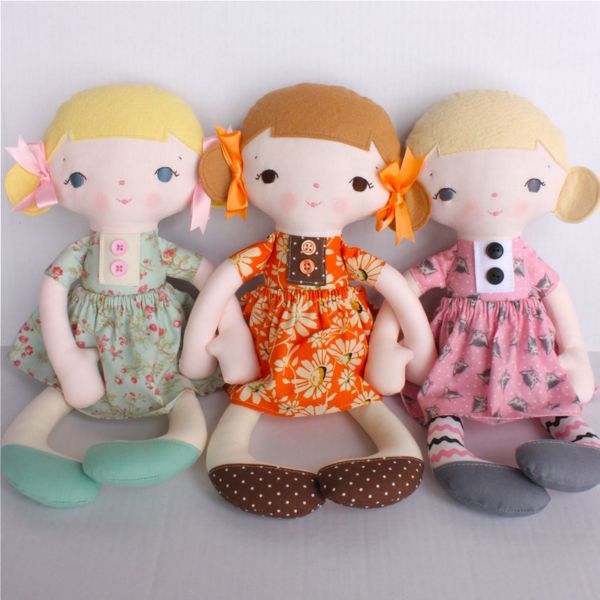
Making a handmade doll can be a delightful and creative project. Here’s a general guide on how to make a basic cloth doll using simple materials and sewing techniques:
Materials you will need:
Fabric (such as cotton or linen)
Sewing needles
Thread
Scissors
Stuffing material (such as polyester fiberfill or wool)
Marking pen or pencil
Embroidery floss or yarn (for hair)
Buttons, ribbons, or other embellishments (optional)
Step 1: Plan and design your doll. Decide on the size, shape, and features of your doll. Draw or trace a pattern on paper to serve as a template for cutting out the doll pieces from fabric. You can find doll patterns online or create your own.
Step 2: Cut out the doll pieces. Lay your fabric flat and place the doll pattern on top. Use scissors to carefully cut out the doll pieces, including the front and back body pieces, arms, legs, and any other desired features such as clothing or accessories.
Step 3: Sew the doll body. Place the front and back body pieces together with the right sides facing each other. Use a needle and thread to sew around the edges, leaving a small opening for turning and stuffing. Be sure to reinforce any areas that will undergo stress, such as the neck, arms, and legs. Turn the doll body right side out through the opening.
Step 4: Stuff the doll body. Use polyester fiberfill, wool, or other suitable stuffing material to fill the doll body through the opening. Use small amounts at a time and stuff firmly to achieve the desired shape and firmness.
Step 5: Sew the doll arms and legs. Attach the arms and legs to the doll body by sewing them in place at the shoulders and hips, respectively. You can also sew any additional features, such as clothing or accessories, at this stage.
Step 6: Create the doll’s face. Use a marking pen or pencil to draw or embroider the doll’s face on the front body piece. You can add eyes, nose, mouth, and cheeks using simple stitches or embroidery techniques. Alternatively, you can use buttons or other embellishments for the facial features.
Step 7: Add hair to the doll. Use embroidery floss or yarn to create the doll’s hair. You can sew or glue the hair to the doll’s head, styling it as desired. You can also add ribbons, bows, or other embellishments to the hair for added charm.
Step 8: Finish and embellish the doll. Sew up the opening used for stuffing, making sure the stitches are secure. You can add additional embellishments, such as buttons, ribbons, or lace, to further customize your doll’s appearance.
With these steps, you can create a unique and handmade cloth doll that can be a cherished keepsake or a delightful gift. Feel free to personalize your doll with your own creativity, using different fabrics, colors, and embellishments to make it truly one-of-a-kind. Happy doll-making!

