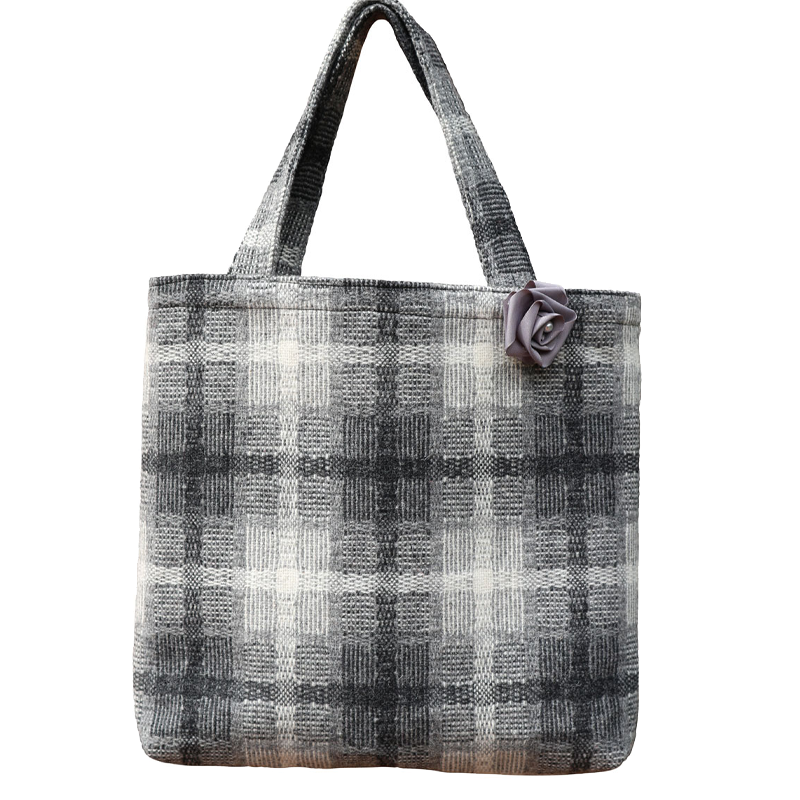
Making handmade bags at home can be a fun and creative DIY project. Here are the general steps you can follow to make a basic tote bag:
Materials you will need:
Fabric (cotton, canvas, or other durable fabric)
Sewing machine or needle and thread
Scissors
Measuring tape or ruler
Pins
Iron and ironing board
Handles or straps (can be purchased or made from fabric)
Optional: lining fabric, pockets, buttons, zippers, or other embellishments
Step 1: Choose your fabric and design
Select a fabric of your choice for the outer part of the bag. You can choose cotton, canvas, or other durable fabric depending on the style and purpose of your bag. Decide on the size and shape of your bag and cut two identical pieces for the front and back of the bag. You can also cut a piece for the bottom of the bag if desired.
Step 2: Prepare the fabric
Iron the fabric to remove any wrinkles and fold it in half with the right sides facing each other. Pin the sides and bottom edges together.
Step 3: Sew the sides and bottom
Using a sewing machine or needle and thread, sew along the sides and bottom edges of the bag, leaving the top open. You can use a straight stitch or a zigzag stitch for added durability. Remember to backstitch at the beginning and end of your seams to secure them.
Step 4: Box the corners (optional)
To give your bag a boxy shape with a flat bottom, you can box the corners. To do this, flatten one of the bottom corners of the bag, creating a triangle. Measure and mark the desired width of the bottom of your bag on the triangle, and sew across the marked line. Trim off the excess fabric, leaving a small seam allowance. Repeat for the other bottom corner of the bag.
Step 5: Turn the bag right side out
Reach into the bag through the open top and turn the bag right side out. Use a pencil or chopstick to gently push out the corners and edges for a crisp finish. Press the bag with an iron to smooth out any wrinkles.
Step 6: Add handles or straps
You can purchase handles or straps from a store, or make your own by cutting strips of fabric and folding them in half lengthwise, then sewing along the edges. Attach the handles or straps to the bag by sewing them securely to the top edges of the bag. Make sure they are evenly spaced and sewed on securely to handle the weight of the bag and its contents.
Step 7: Optional: Add lining, pockets, or other embellishments
If desired, you can add a lining to the bag for added durability and a professional finish. Cut lining fabric using the same pattern as the outer fabric, sew and attach it to the bag. You can also add pockets, buttons, zippers, or other embellishments to customize your bag to your liking.
And there you have it! With these steps, you can create a basic handmade bag at home. Feel free to experiment with different fabrics, designs, and embellishments to make your bag unique and personalized. Happy sewing!

