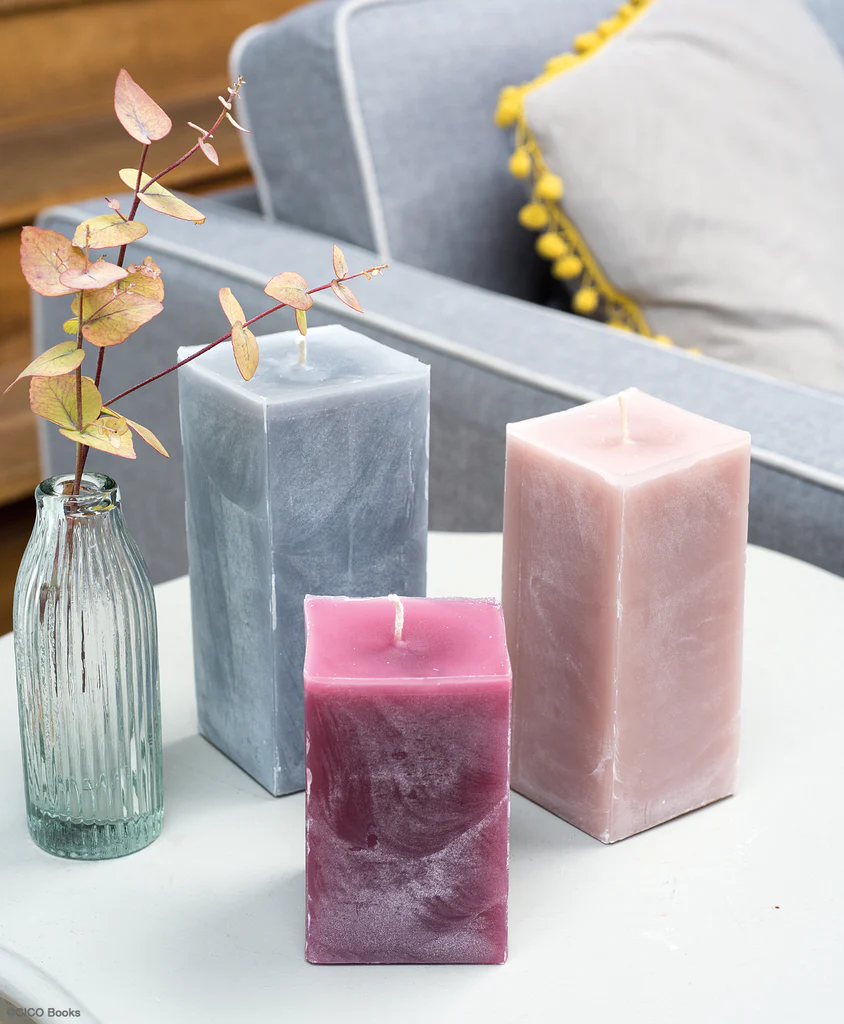
Handmade candles can be a fun and rewarding craft project. Here’s a step-by-step guide on how to make handmade candles:
Materials:
Candle wax (such as soy wax, beeswax, or paraffin wax)
Candle wicks
Candle dye or color chips (optional)
Candle fragrance oil (optional)
Heat-resistant container (such as a glass jar or tin)
Double boiler or a heat-safe container and a saucepan
Thermometer
Stirring utensil (such as a wooden spoon or popsicle stick)
Pencil or chopstick
Step 1: Prepare Your Work Area
Cover your work surface with newspaper or a plastic sheet to catch any spills or drips. Make sure your work area is well-ventilated and away from any flammable materials.
Step 2: Choose Your Wax
Select the type of wax you want to use for your handmade candles. Soy wax, beeswax, and paraffin wax are common options. Each type of wax has its own characteristics, so choose the one that fits your preferences and needs.
Step 3: Prepare Your Container
Clean and dry your container thoroughly. If you’re using a container with a lid, set the lid aside for now. Place a wick at the center of the container and secure it in place using a pencil or chopstick laid across the top of the container, wrapping the wick around it. This will keep the wick centered as the wax sets.
Step 4: Melt the Wax
Using a double boiler or a heat-safe container placed in a saucepan of water, melt the wax over low to medium heat. Stir occasionally with a wooden spoon or popsicle stick. Use a thermometer to monitor the temperature of the wax, making sure it doesn’t exceed the recommended temperature for the type of wax you’re using.
Step 5: Add Color and Fragrance (Optional)
If desired, you can add color chips or candle dye to the melted wax to give your candles a different hue. Follow the manufacturer’s instructions for the recommended amount of dye to add. You can also add fragrance oil to the melted wax to give your candles a pleasant scent. Again, follow the manufacturer’s instructions for the recommended amount of fragrance oil to add.
Step 6: Pour the Wax
Once the wax has melted and any color or fragrance has been added, carefully pour the wax into the prepared container, being careful not to disturb the wick. Leave a small gap at the top of the container to allow for the wax to expand as it cools.
Step 7: Let the Candle Set
Allow the candle to cool and set completely, which may take several hours or overnight, depending on the size of the candle and the type of wax used. Do not move the candle while it’s setting to avoid disturbing the wick and causing the wax to set unevenly.
Step 8: Trim the Wick
Once the candle has fully set, trim the wick to a length of about 1/4 inch using scissors or a wick trimmer. Remove the pencil or chopstick from the top of the container.
Step 9: Decorate and Seal the Container (Optional)
If desired, you can decorate the container with ribbon, twine, or other embellishments to add a personalized touch to your handmade candle. You can also seal the container with a lid, cork, or a decorative cover to protect the candle and keep it fresh.
And there you have it! Your very own handmade candle. Enjoy the warm glow and beautiful scent of your creation, or gift it to someone special. Always remember to burn candles responsibly and never leave them unattended.

